Budget Interview Lighting Kit
What’s in my affordable Interview Lighting Kit?
Do you want to start filming interviews?
In this video, we take a look at my affordable Interview Lighting Kit. You don't need a massive lighting kit to start shooting interviews. To start with you just need one light and you can build your kit from there. This is the kit I use on a regular basis when shooting corporate and commercial interviews

Do you want to start shooting corporate interviews but you're worried you don't have the right equipment? In this video, we're going to take a look at my affordable lighting kit. This is what I take with me on pretty much every corporate shoot I do. It's very budget-friendly and is a great starting point for those of you just getting into these kind of shoots. This kit is also ideal if you work mostly as a solo filmmaker like me. It's relatively lightweight, as well as being easy to set and pack down. First I'll go through exactly what is in the kit. Then we'll take a look at how I set it up and use it on real-world shoots. Finally, we'll take a look at how you can build upon this basic kit. Turning it from a solid one-light set-up into a reliable 3-point lighting kit, that can cover most shooting scenarios.
So what's in the kit?
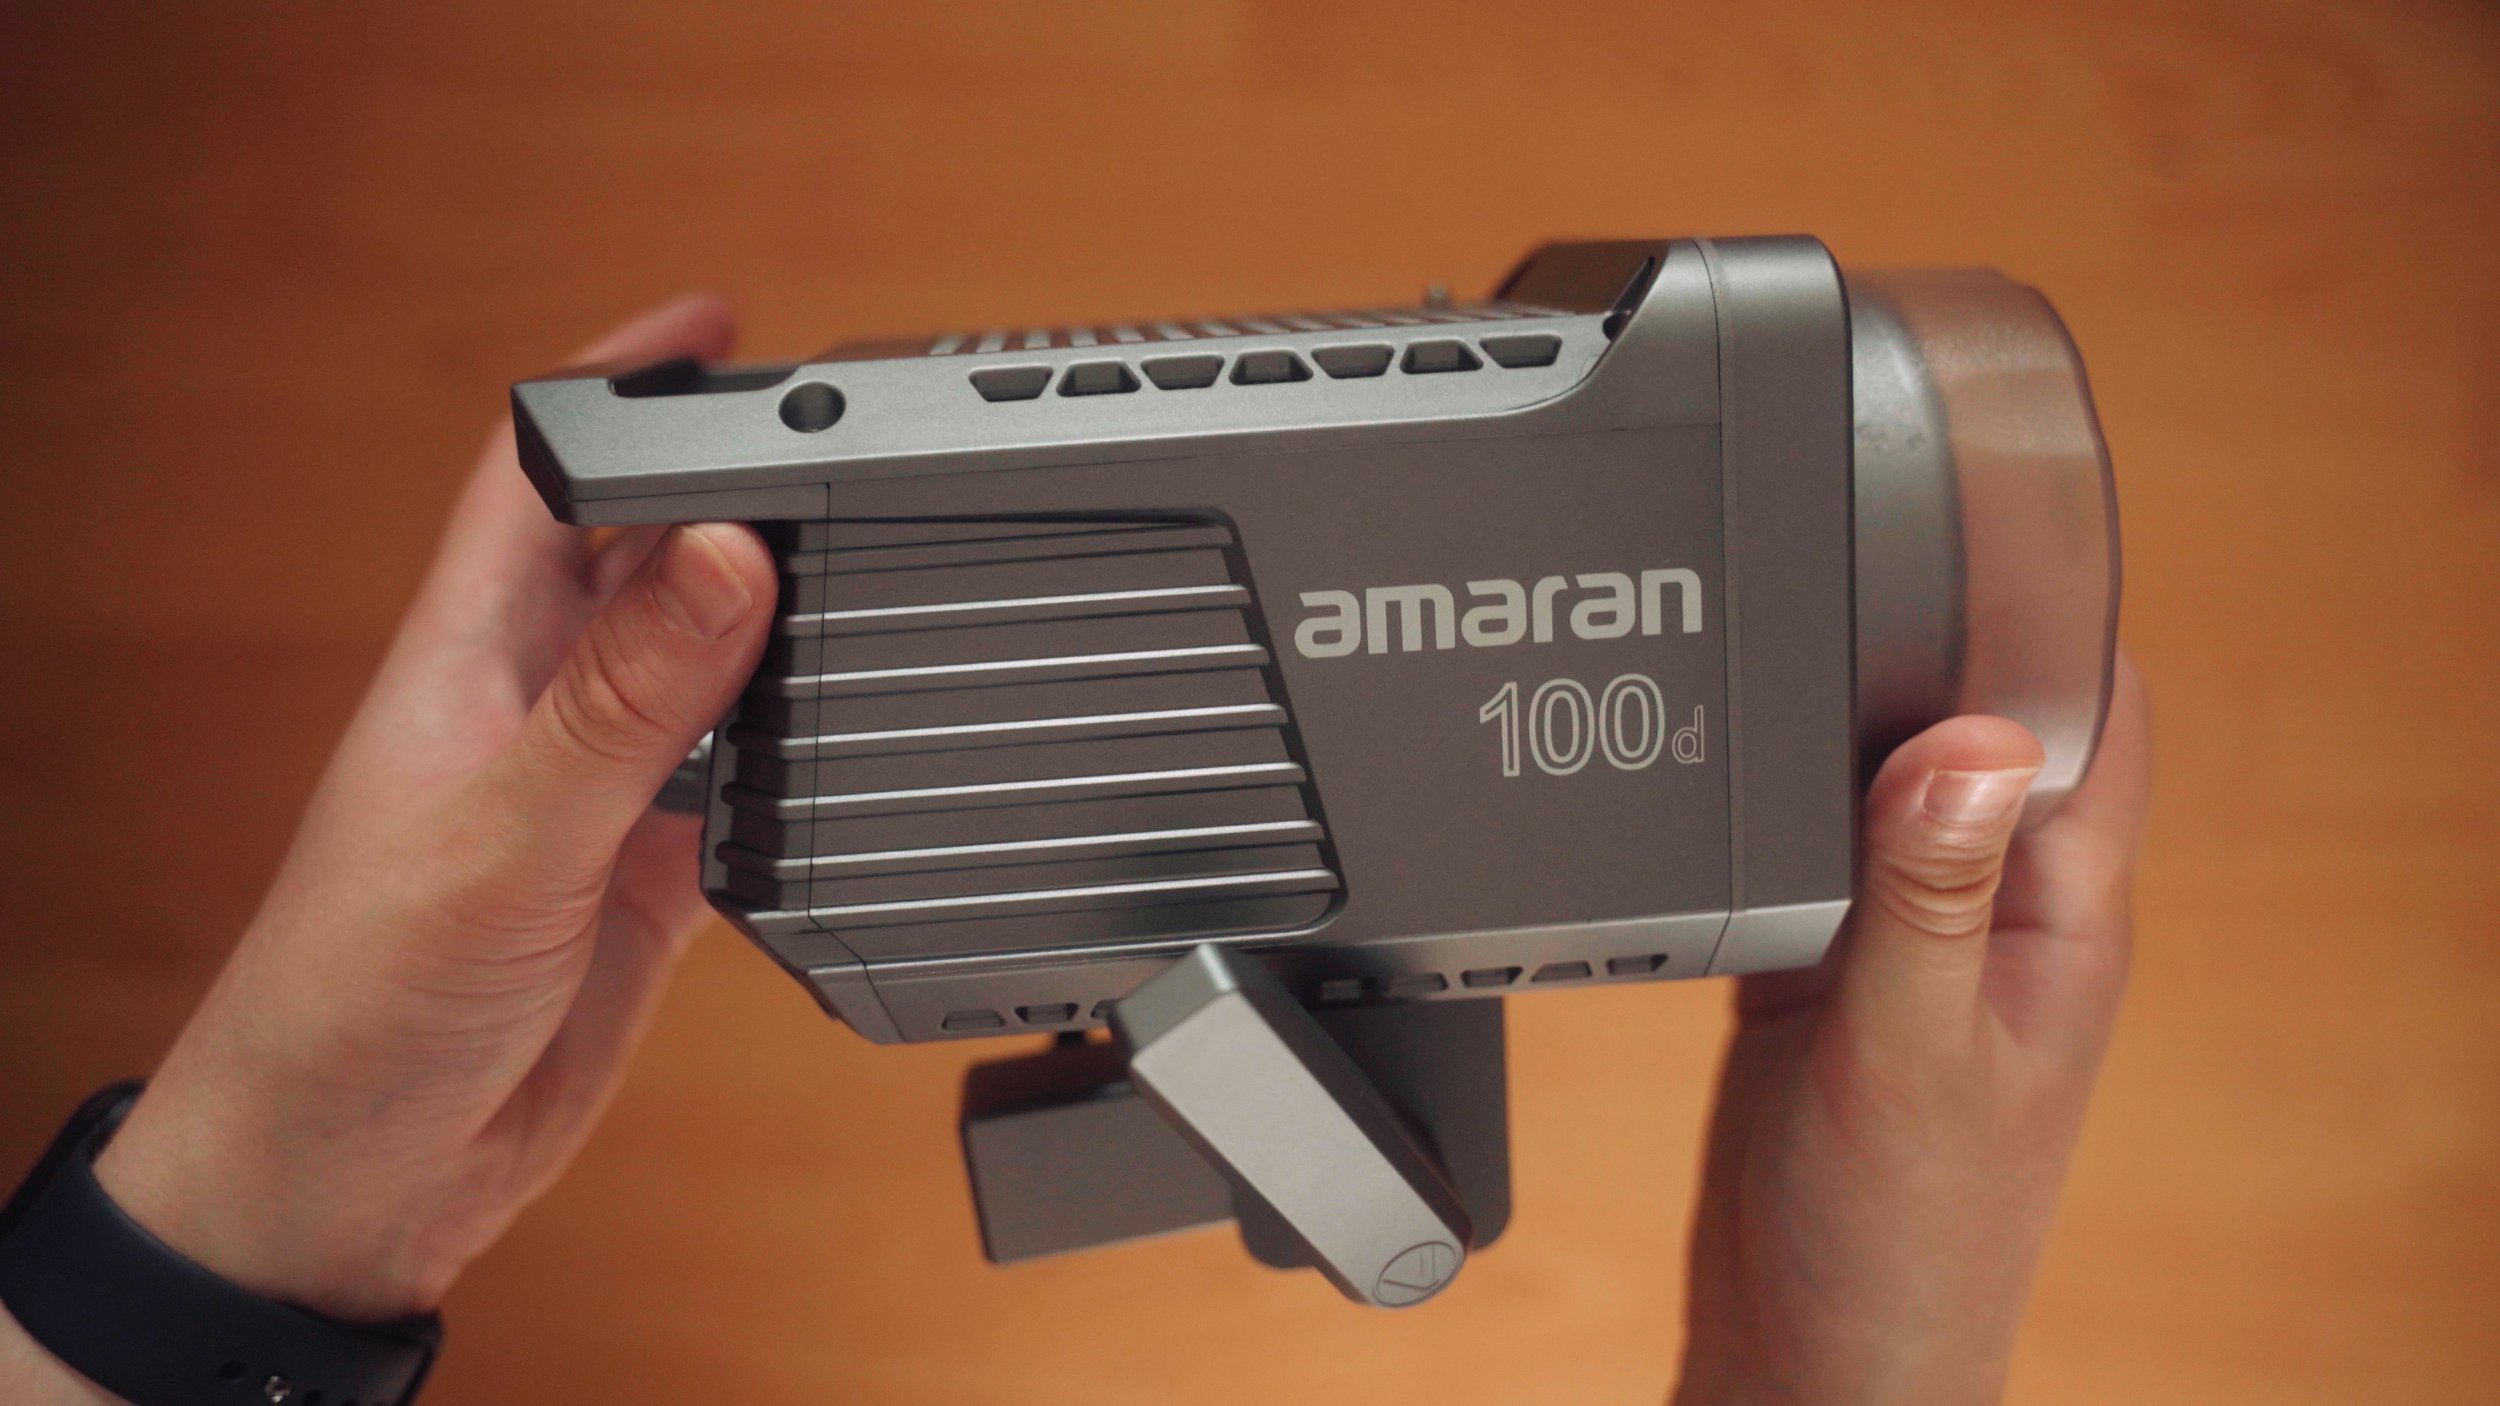
The key light is the Amaran 100d. This is a daylight LED fixture. it's very affordable and so it makes a great first light if you're just getting started. It's also bright enough to cover most indoor situations.
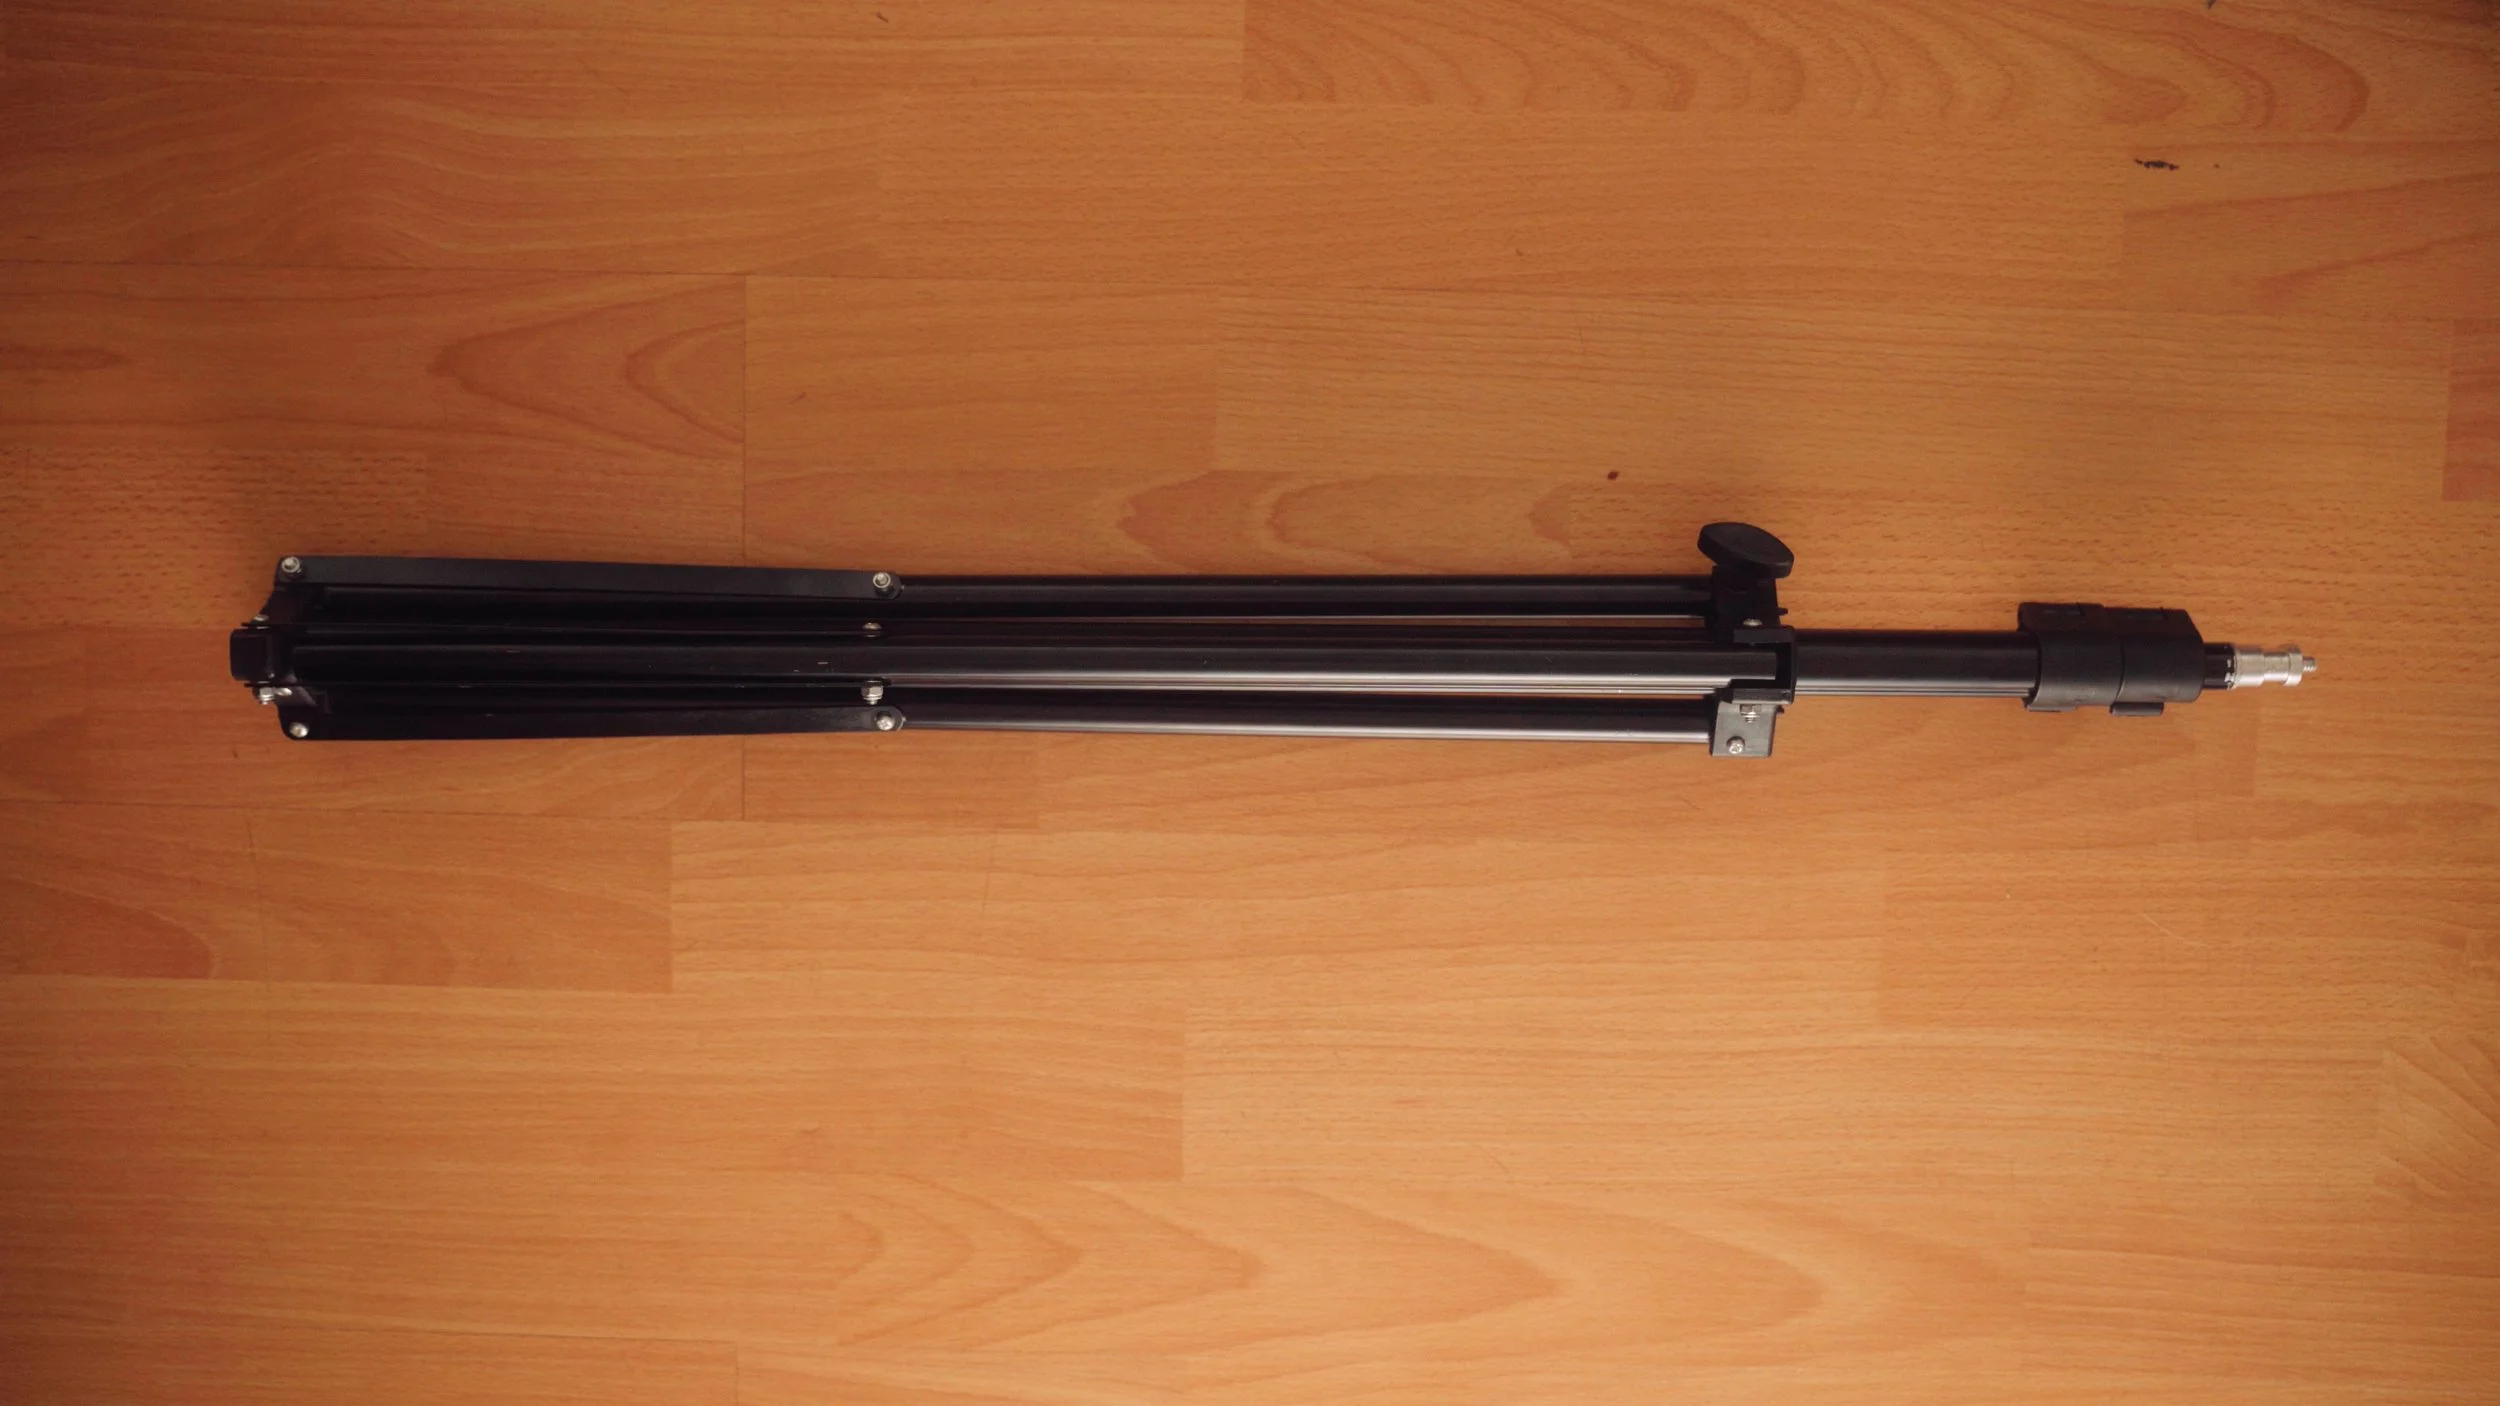
To go with this, I have a very basic light stand. This isn't a heavy light and so you don't necessarily need a heavy-duty c-stand. The goal is to keep the kit as lightweight and portable as possible. I would always advise that you still support the stand with sandbags. You could also just use your kit bag, which is what I do occasionally.
The 100d comes with a basic reflector dish but no form of diffusion. Because of this, I like to use it with a simple white umbrella. This option is not only super lightweight it's also incredibly easy to set up. Most importantly, it also produces great results for such a small price. That is it, just one light, one stand and one umbrella. As I mentioned, later in the video we'll go through how you can add to and improve on this kit.

So how do I use this set-up in real-world shooting situations?

This is what I like to use, when I know I have limited time to set up. It's also perfect for when I haven't had a chance to see the location prior to shooting. As I can quickly set it up and move it around to find the perfect spot.

Typically I will raise the light up and set it at a 45-degree angle. This will be placed to one side of the subject in an upstage position. Allowing for the natural shadow fall off on the subject to create more depth.In some situations, I'll position the subject and light where a practical in the background can act as a hair light. I will also try to make the light look as though it's coming from a natural source where possible. This is not always essential though, just personal preference. Sometimes something needs to look lit. I use my small HD to check exposure on myself with false color. Using the Sidus link app to dial it in until skin tones are roughly between 55-70 IRE.
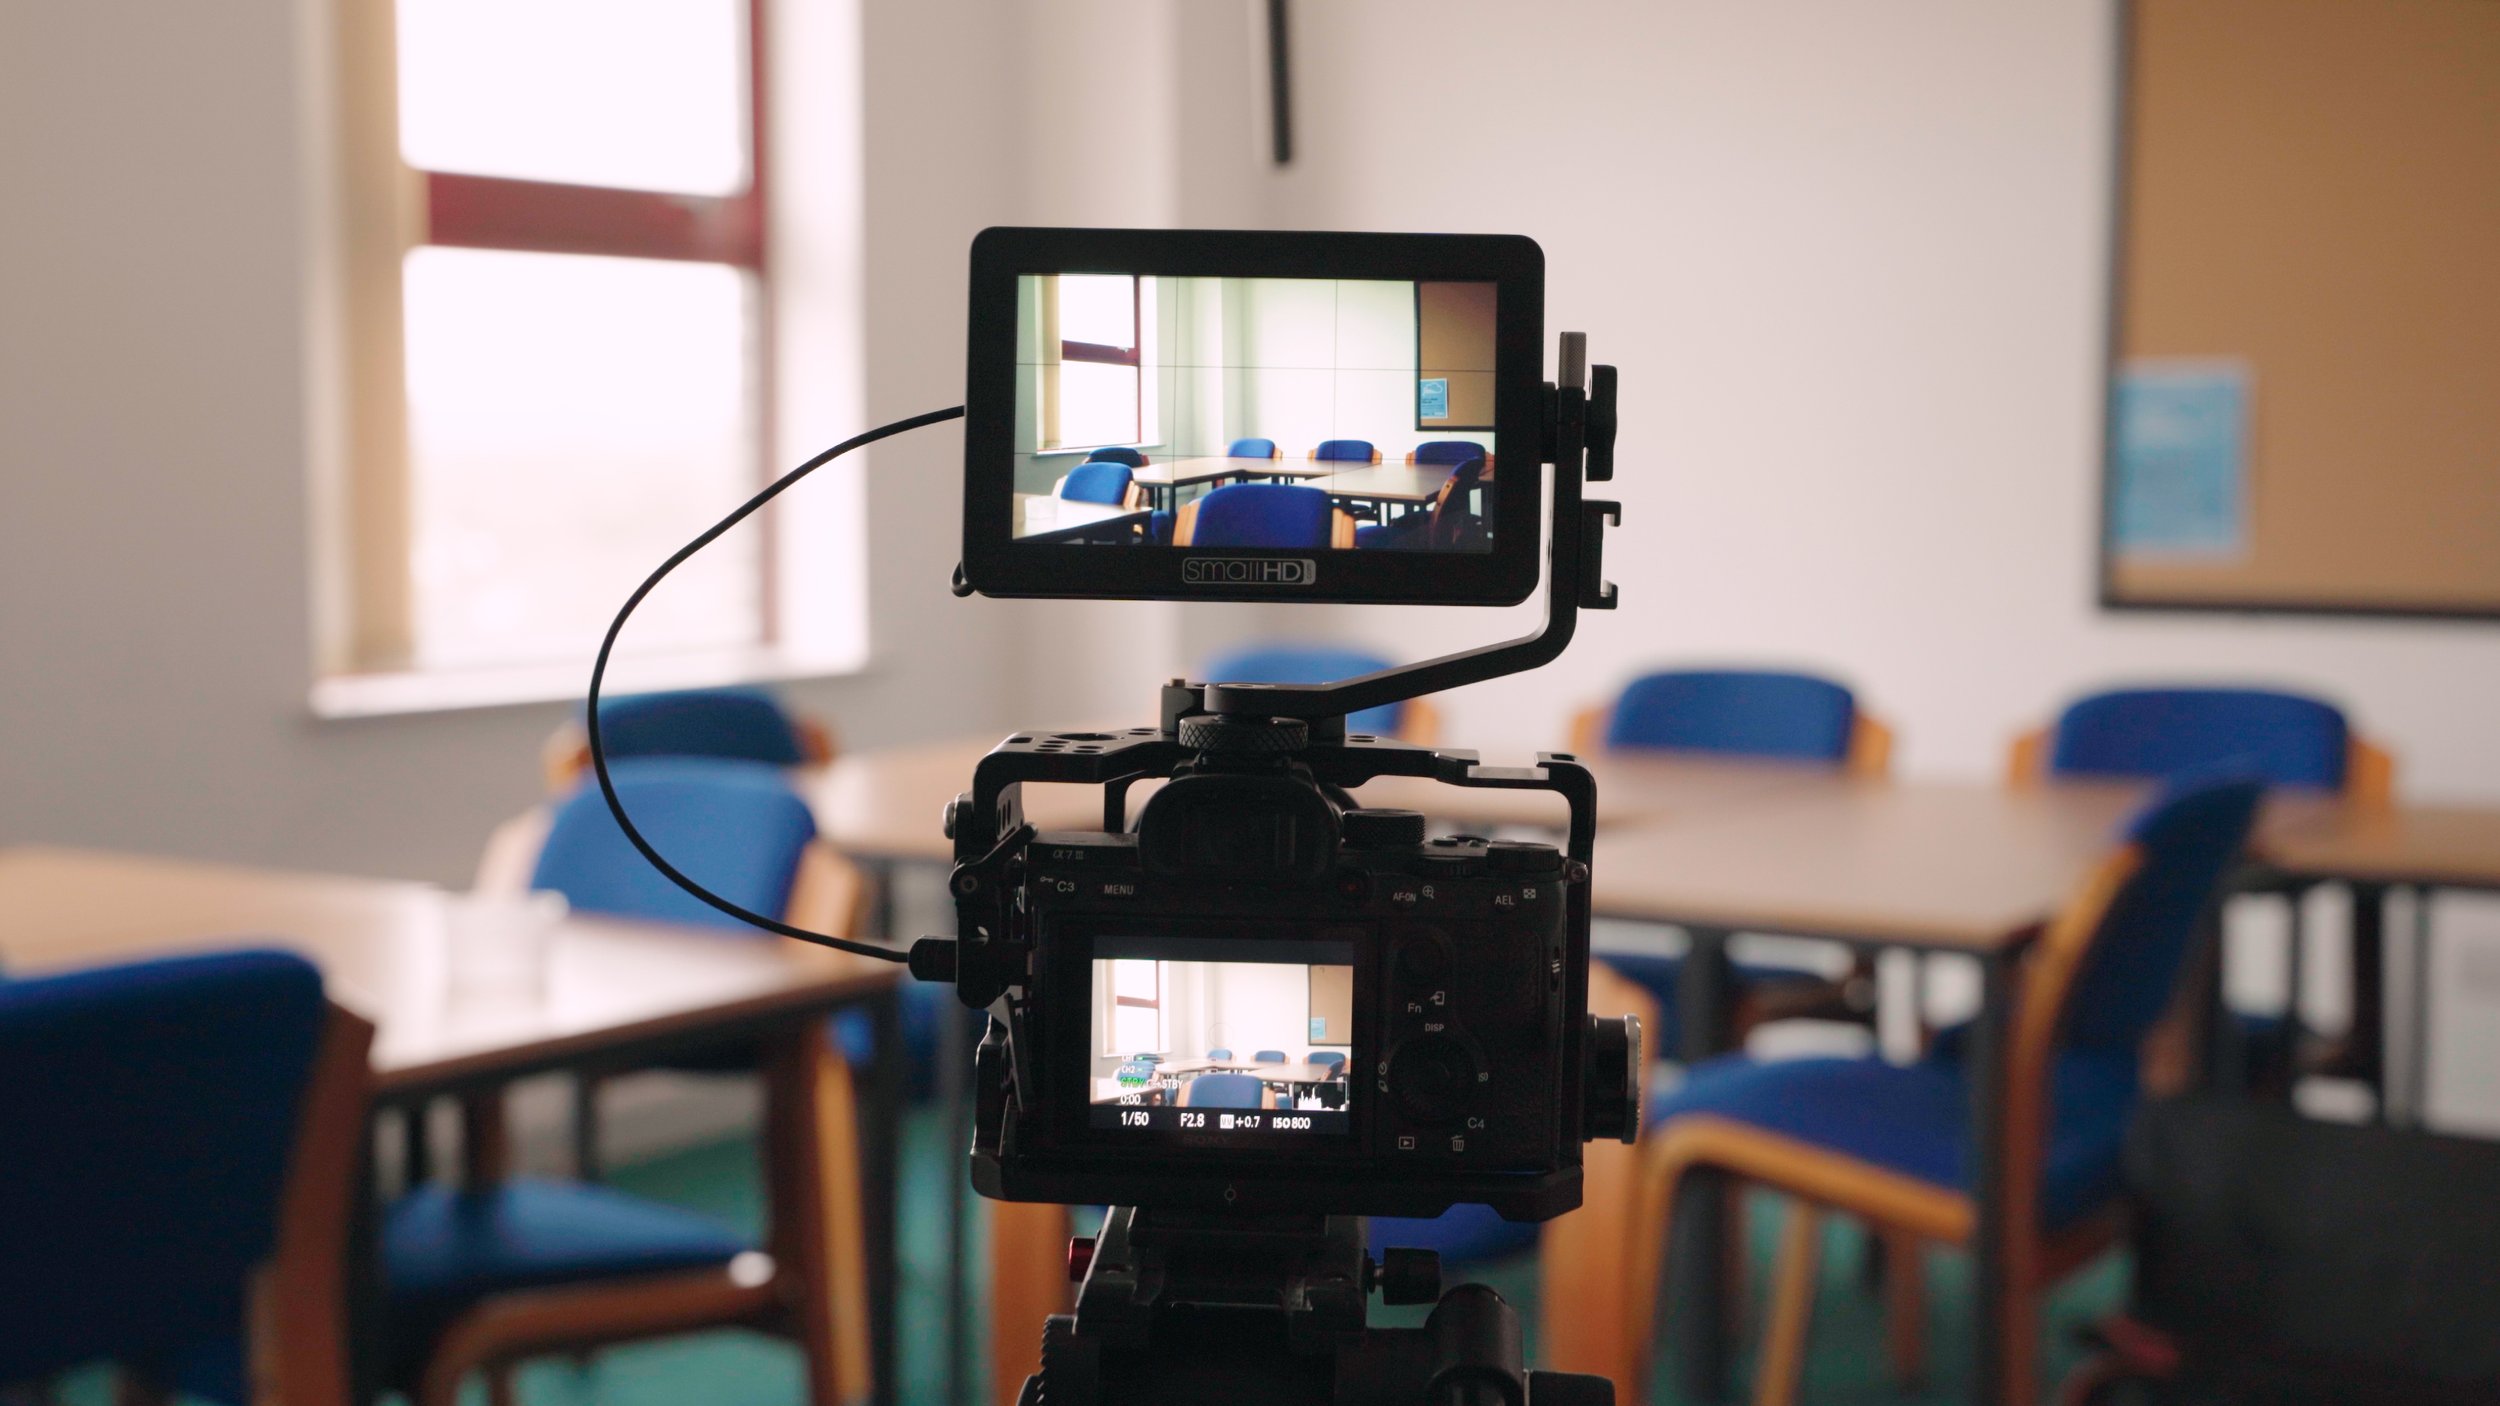
This is obviously dependent on your subject's skin tone. I have a whole separate video on this if you're interested. If you're often working without a team or even an assistant like me, the Sidus link app is perfect for being able to control the 100d while monitoring exposure on the monitor. Most of the time I will fire the 100d directly through the umbrella. On occasion, I will turn it around and use it as a bounce when I need it to be softer. You do lose a fair amount of output this way and so it does depend on the situation. There is a lot you can do with just one light. As I mentioned, this is a great starting point if you are building up your first lighting kit.

From here, you can start to add to it over time. I think a lot of people feel they need to have everything first before getting started, but that's really not the case. There's no need to rush and spend a tonne of money all in one shopping spree. You can add things piece by piece.

So what are some options that you can add to this kit?

Firstly I would suggest investing in a decent-sized bag that can fit everything in. Personally, I decided to go for a Neewer roller bag. This was another affordable option as I'm sure there are much more expensive ones out there. There are 2 different size options and I would recommend the larger one. Having that little bit of extra space is always handy.

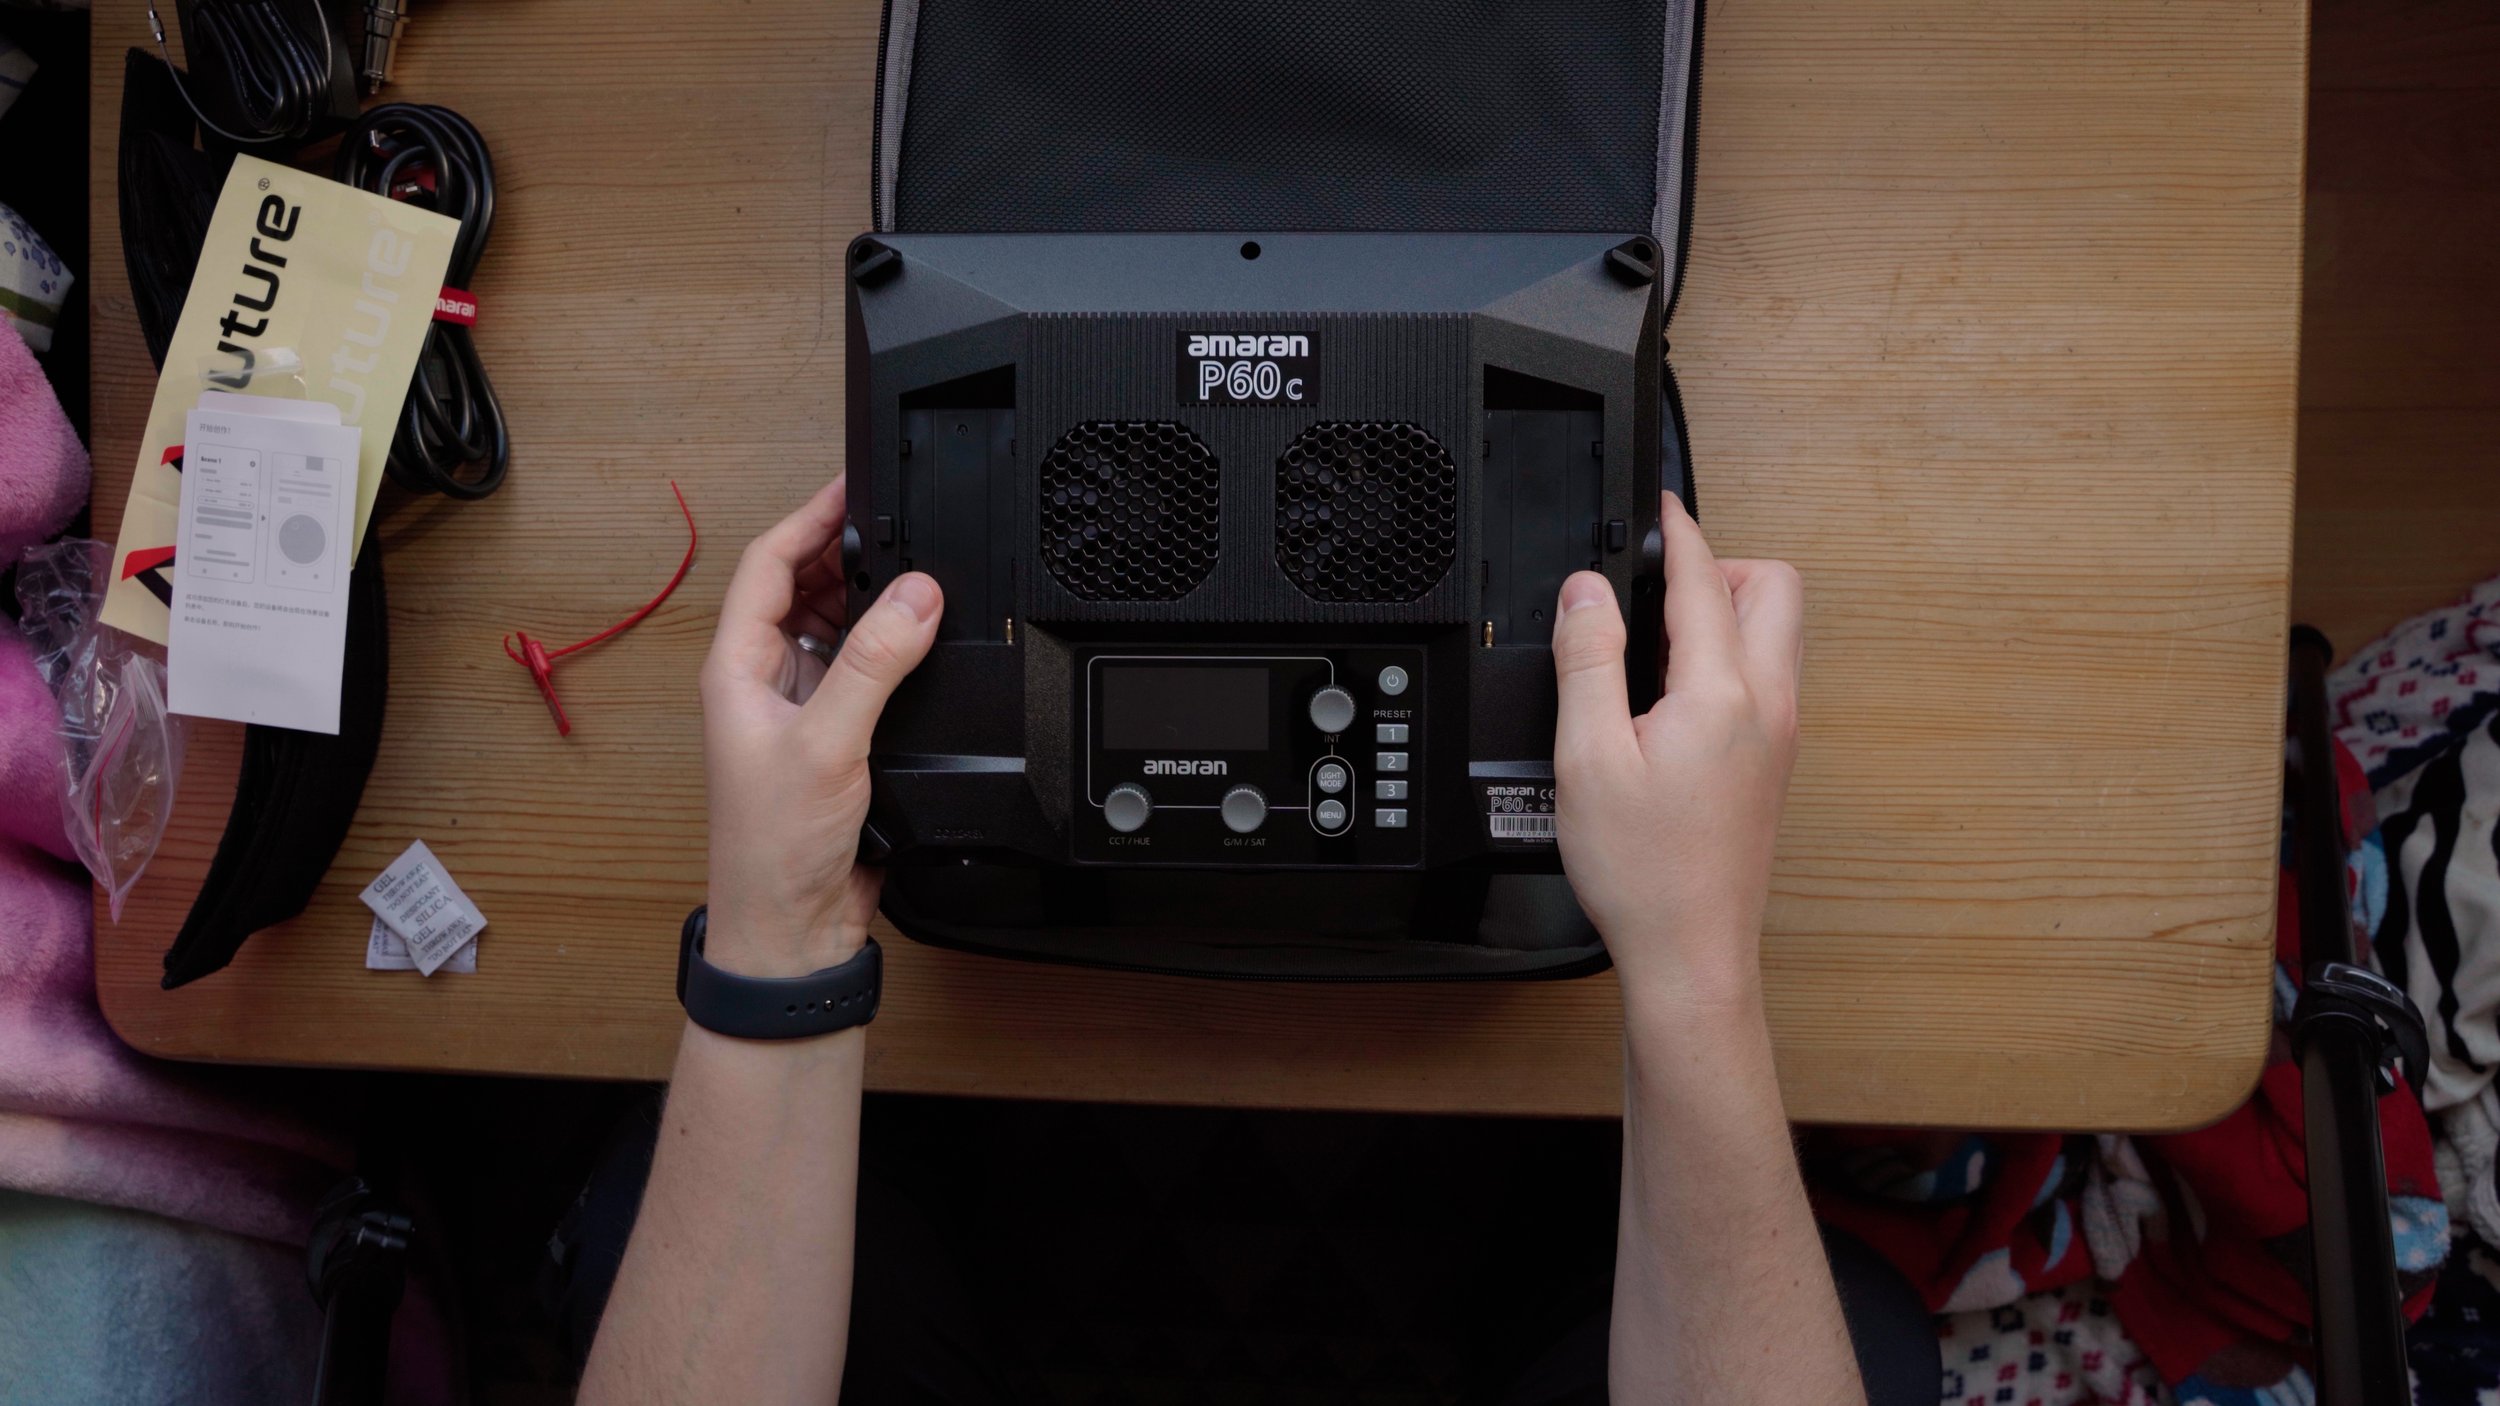
Next up, I would recommend a decent second light. You could go for something like the Amaran p60x. This a fantastic BI-color LED panel. There is also the Amaran p60c which is the one I went for. This is the full RGB version but it is slightly more expensive. Another option would be the Amaran 200d or 200x. If you find that the 100d isn't quite bright enough. You could invest in one of these as your key light, and switch the 100d to your fill. The 200d is a daylight fixture again, and the 200x is the RGB version.
For the 3rd light, I like to use a tube of some variety. Tubes are great to use as hair lights because of their size and form factor. There are few affordable options from both Nanlite and Aputure here. So it will depend on personal preference as they are slightly different. They also come in different sizes and so again it will depend on preference. At the moment, I'm using a Nanlite 15x in my kit. But I'm looking to invest in one of the larger tubes. Possibly the Amaran T4c this time. Just so I'll be able to control them all through the Sidus link app. Which saves so much time! I love that they can all be run off battery power which saves the need for cables.

You may feel that you need slightly more diffusion. The p60c comes with its own. But you may want to consider something like the Aputure Light Dome. This is the perfect companion for the 200 or 100 lights. There is the SE version of the light dome which is about £100 cheaper, but the quick rod system in the light dome 2 is well worth the extra money in my opinion. Having that speed setting up and packing down is key. I would advise that if you're going to use the light dome, invest in a sturdier light stand then the cheap ones I suggested before. They are fine for the umbrella but the light dome is much larger. These are just some optional extras that you can add to the one light kit. You can see how it all starts to add up. This is why I always recommend starting with just one light first and building from there.

The Kit I mentioned
These are Amazon affiliate links
Key Light - Amaran 100d ($200) https://amzn.to/3cXBcYt
Cheap Lightstand ($30) https://amzn.to/3PTfF1N
Sandbags ($20) https://amzn.to/3cM1k8G
Photography Umbrella ($30) https://amzn.to/3QcBPMs
Roller bag (equipment trolley) ($180) https://amzn.to/3Qeplni
Amaran P60X ($180) https://amzn.to/3zNKMGC
Amaran P60C ($350) https://amzn.to/3OQzoy0
Amaran 200d ($300) https://amzn.to/3BA71Ba
Amaran 200x ($350) https://amzn.to/3BzDwzb
Amaran T4c ($320) https://amzn.to/3vu9vNl
Amaran T2c ($200) https://amzn.to/3zQZCfB
Aputure Light Dome II ($220) https://amzn.to/3zQ8phF
Aputure Light Dome SE ($120) https://amzn.to/3BDU7C2
Heavy duty light stands ($120) https://amzn.to/3bp3LO8